

Set Up WooCommerce Order Notifications
Send customers a browser notification when their WooCommerce order changes status. Create an API key, connect the plugin and choose your statuses.
With Push Agent, your WooCommerce shop can send customers a browser notification whenever their order changes status, for example “Packing”, “Handed to courier” or “Delivered”. This guide shows you how to switch it on.
Before you start
- The Push Agent plugin is installed and connected with your access token. If not, follow How to install Push Agent on WordPress first.
- WooCommerce 3.0 or newer. High-Performance Order Storage (HPOS) is supported.
- Your Push Agent account is on the Growth plan or higher. New accounts can try it free for 14 days.
How it works
- A customer allows notifications in their browser, either on the order confirmation page (“Get updates about this order”) or anywhere on your site while logged in.
- When you change the order’s status in WooCommerce to a status you switched on, the plugin sends that customer your message.
- Clicking the notification opens their order.
- Every send is recorded as an order note, on the plugin dashboard and in your Push Agent dashboard.
Step 1: Create an API key
In your Push Agent dashboard, open API & WooCommerce. Under API keys, give the key a name (for example “WooCommerce shop”) and click Create API key.
Copy the key right away. It won’t be shown again. Push Agent only stores a fingerprint of it. If you lose it, revoke it and create a new one.
Step 2: Add the API key in WordPress
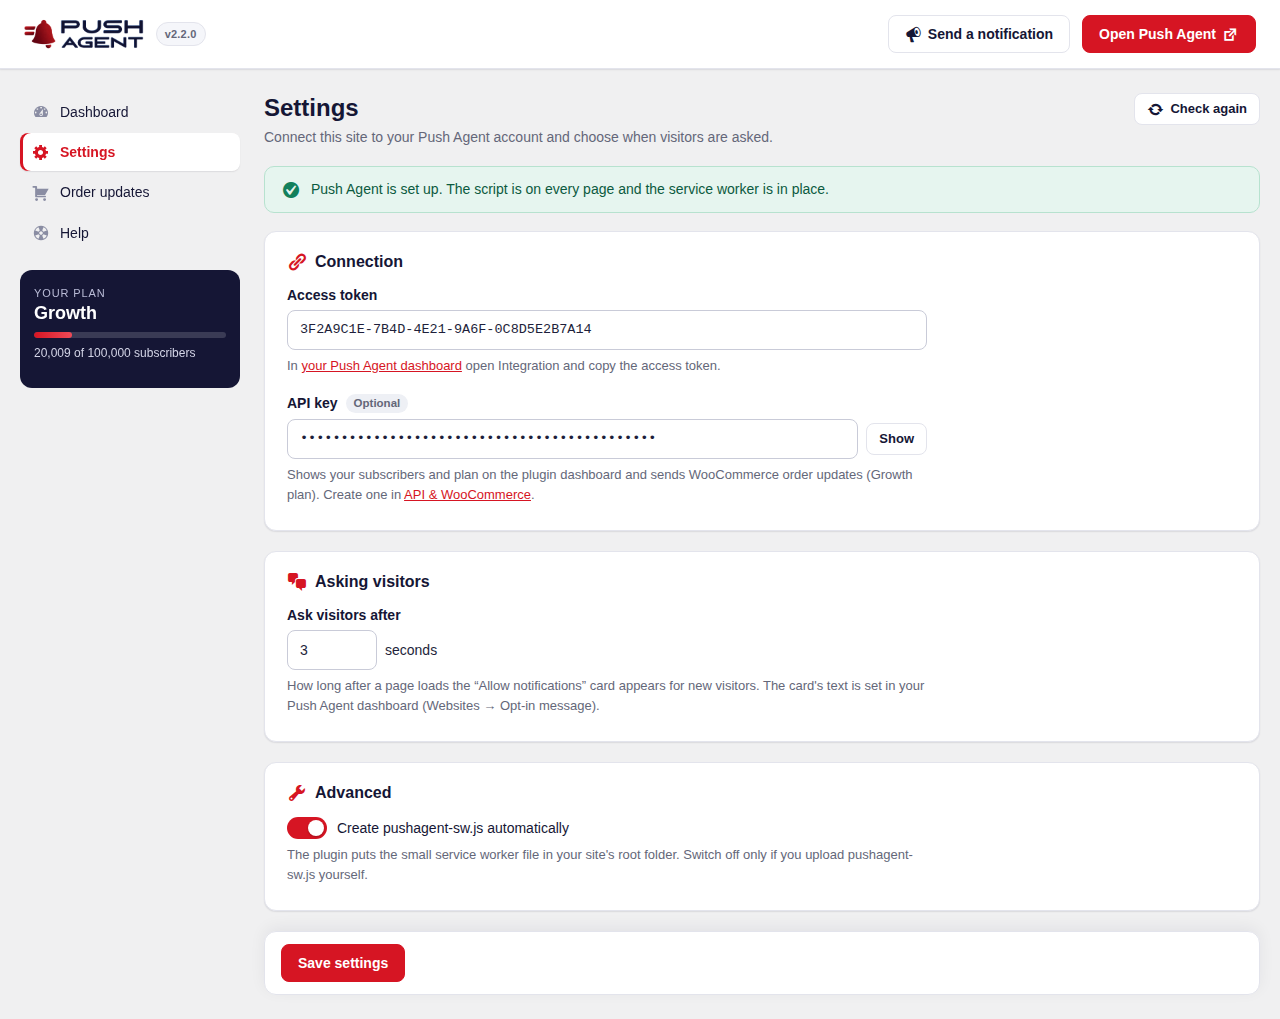
In WordPress, open Push Agent → Settings, paste the key into the API key field and click Save settings.
Step 3: Switch on order statuses and write your messages
Open Push Agent → Order updates. Write a default title and message, then switch on each status you want customers to hear about. Custom statuses added by other plugins appear in the list automatically.
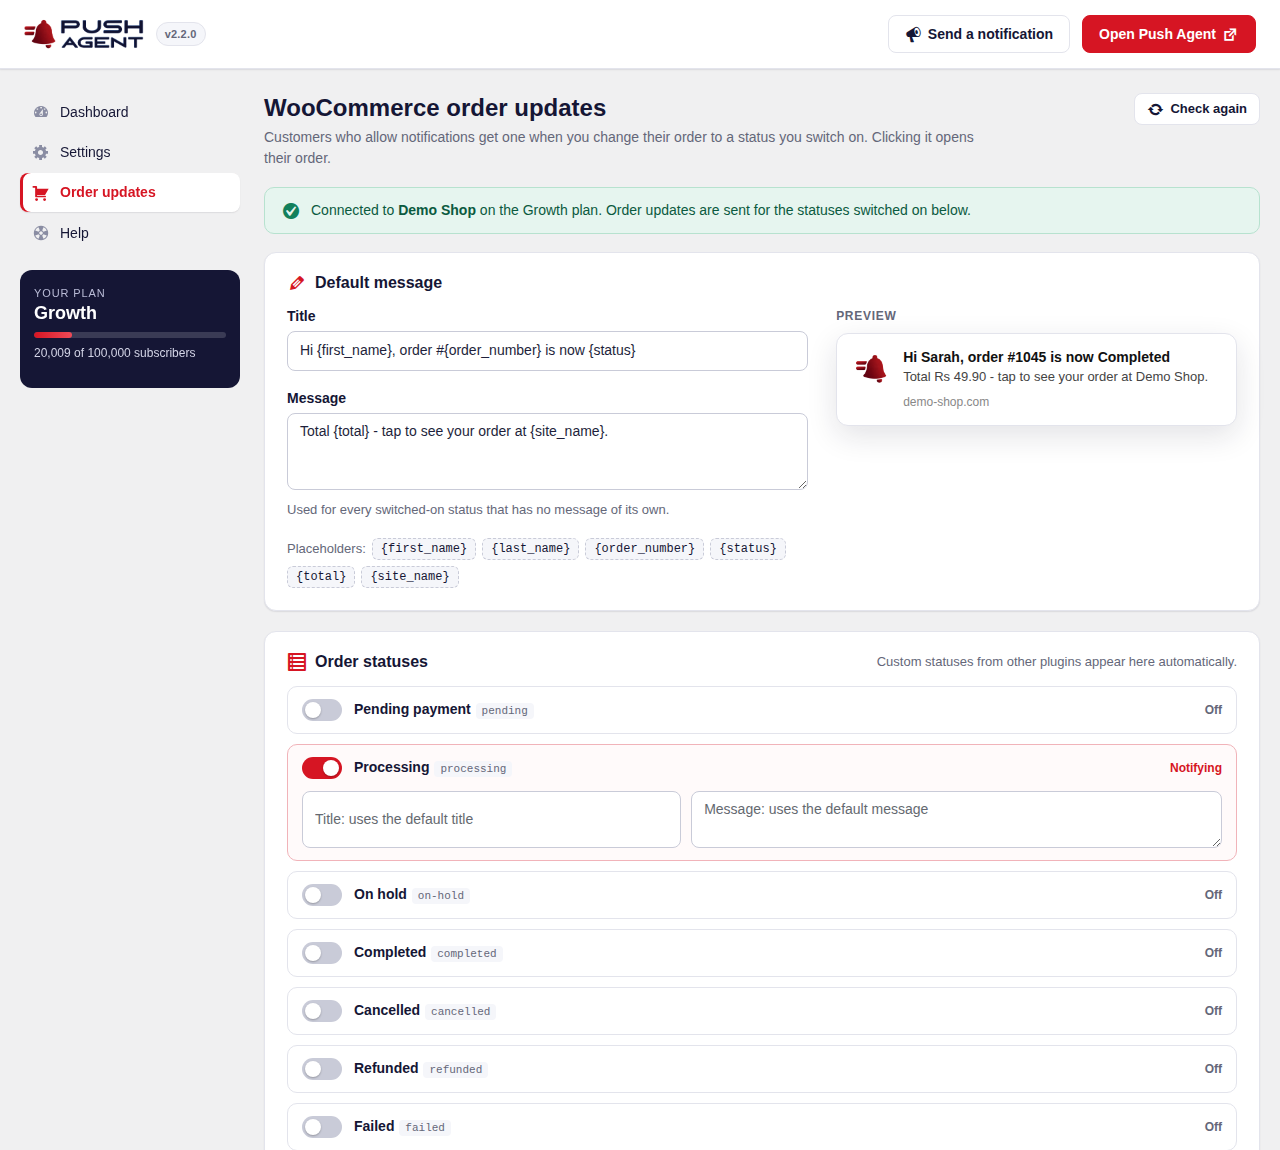
There are no pre-written messages: you write each one in your shop’s own voice. WooCommerce order notification messages and statuses explains placeholders, per-status messages and good examples.
Keep Show a “Get updates about this order” box after checkout switched on. It asks customers at the best moment: right after they have placed their order. Click Save order updates.
Step 4: Check it works
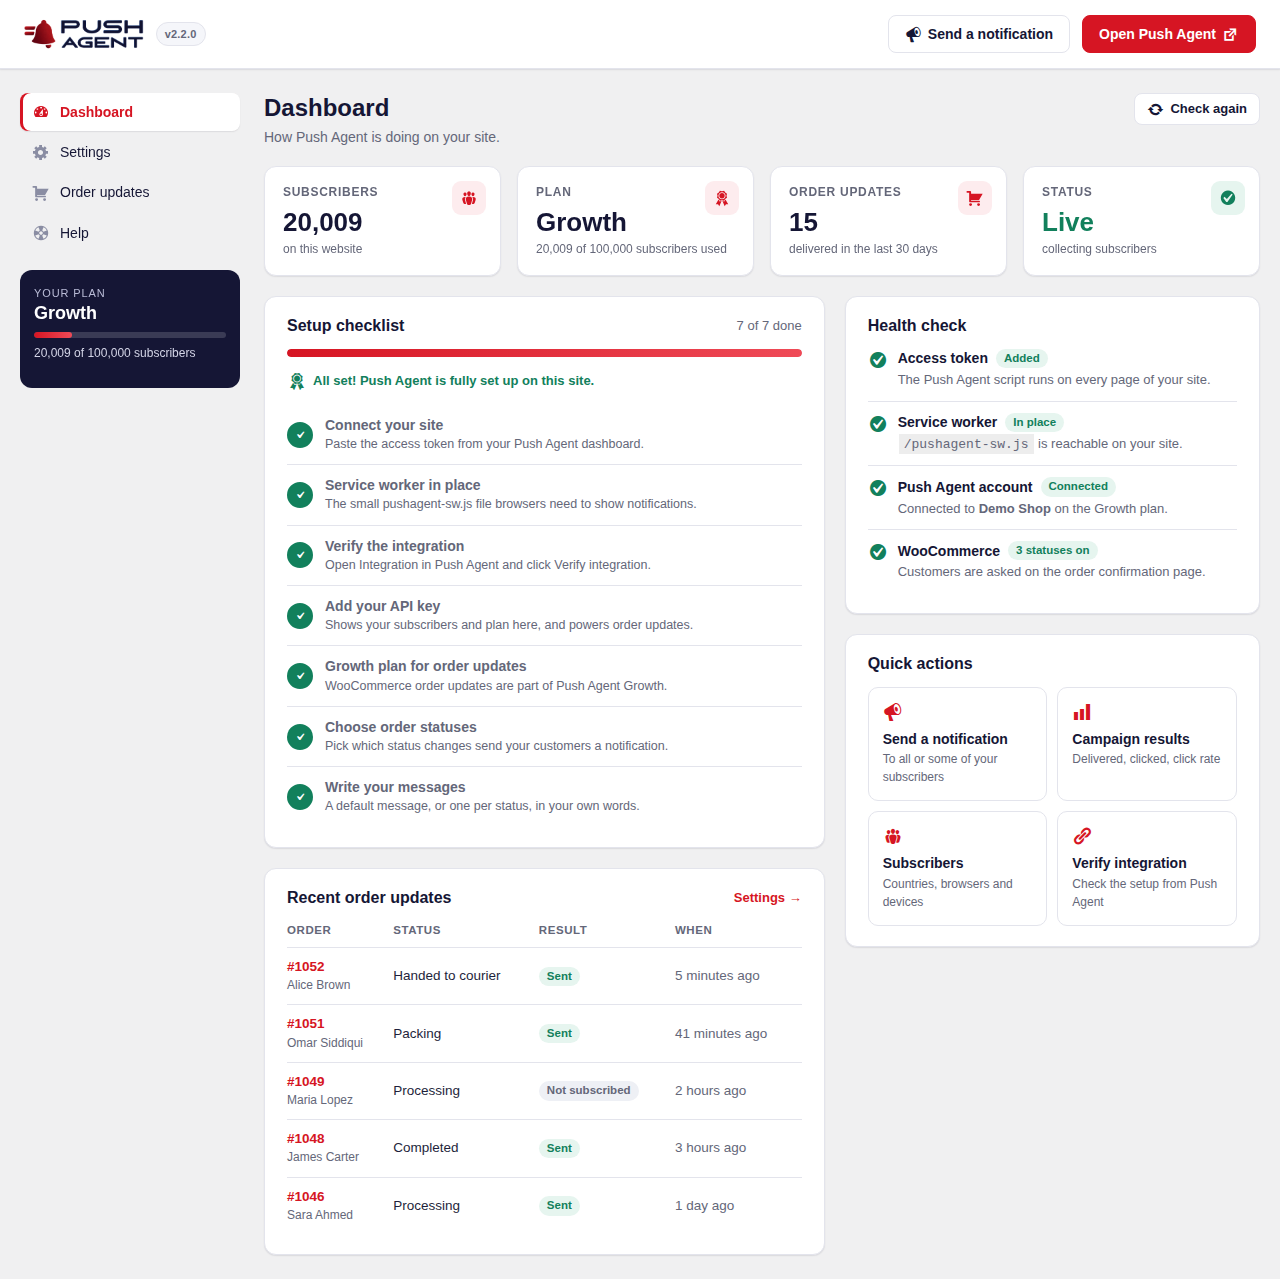
Place a test order in a browser where you allowed notifications, then change its status in WooCommerce → Orders. You get the notification, and a note appears on the order. The Push Agent → Dashboard screen lists recent order updates with their result.
Privacy
Customers are matched with a one-way code made from their email address and your API key. The email address itself is never sent to Push Agent. Order updates go only to people who are already subscribers, so they don’t count towards your subscriber limit.
Troubleshooting
A customer didn't get an update
They only get updates in browsers where they allowed notifications. The order note says what happened for every status change, for example “Not subscribed”.
The Order updates screen says your plan doesn't include it
WooCommerce order updates need the Growth plan or higher. Upgrade from Account in your Push Agent dashboard, then click Check again in the plugin.