Setup Push Agent on your Joomla website
This document will guide you through how to install Push Agent for web push notifications in Joomla versions 3 and 4.
[br]
[br]
As you all know, Joomla is a CMS that now powers millions of websites around the world. The Push Agent makes it entirely easy to integrate Web Push Notifications with any Joomla website running 3 or above. All you need to do is download our plugin and let it do all the hard work, no coding knowledge is required.
[br]
[br]
STEP 1: Download and install #
[br]
Download the plugin from here. Then head to the Extensions – Manage – Install section. Jump to the Upload Package File section, select the downloaded zip file and click on “Upload and Install”.
[br]
Step 2: Configure the plugin #
[br]
Once done, go to the Extensions – Plugins section, scroll down to Push Agent or search for it. Click on the plugin name, put in your Access Token which is available from the web.pushagnet.net section of Dashboard settings.
Follow the below steps to get the Access Token from web.pushagent.net.
[br]
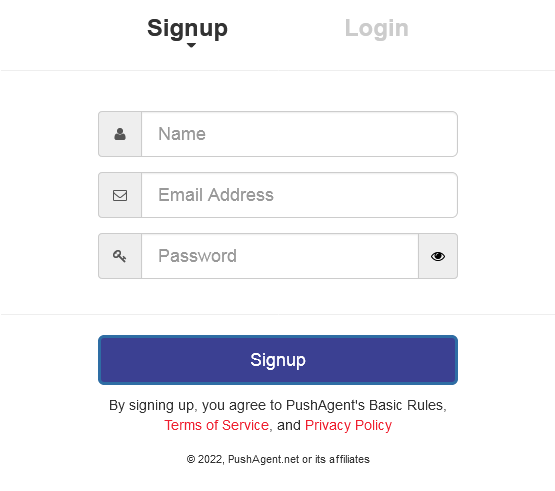
Step 2.1: Signup to pushagent.net #
[br]
Visit https://web.pushagent.net , enter your name, a valid email address for verification, and a password.
[br]
[br]
You should receive an email from pushagent.net with a link for verification, click the link to activate your account.
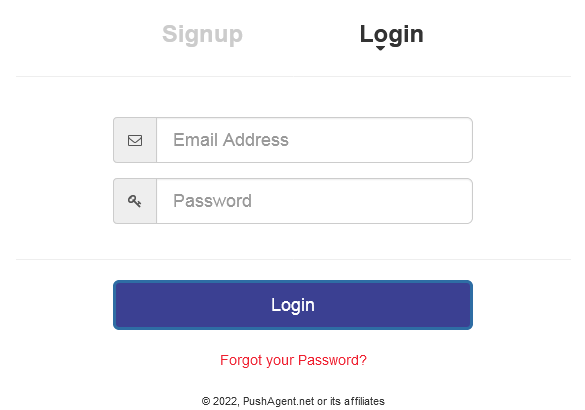
Step 2.2. Login to your account #
[br]
Access web.pushagent.net and login to your account.
[br]
[br]
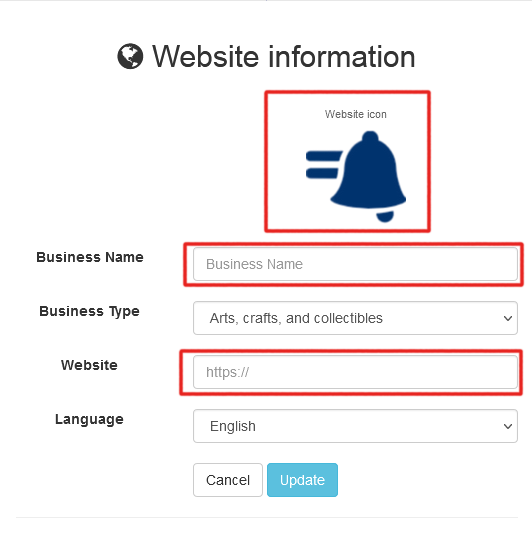
Step 2.3 Add your website #
[br]
In the control panel, extend the setup menu and click the website button to your website.
[br]
[br]
Step 2.4 Get your access code #
[br]
When you have added your website. Now click the dashboard button, you can find the access code just under your website details as shown in the picture below.
[br]
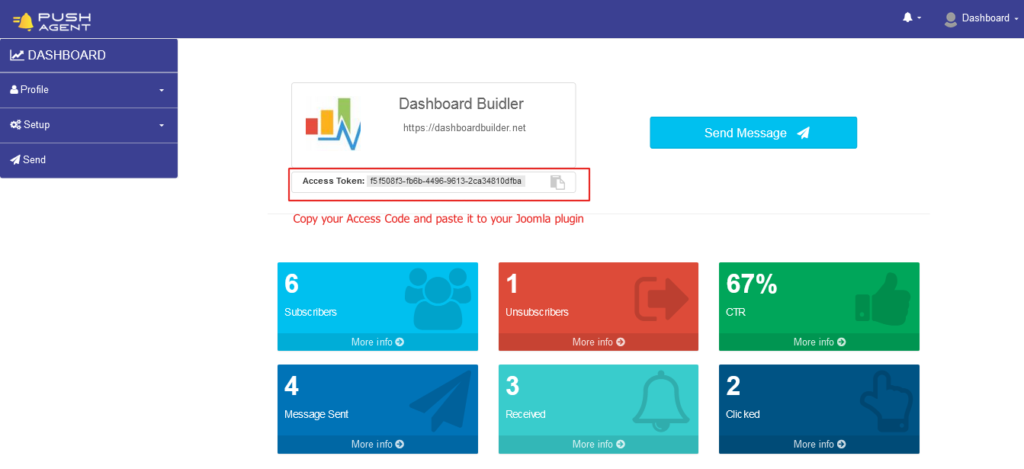
Now, copy the access token and paste it into your Joomla plugin.
[br]
Step 3: Enable the Joomla plugin #
[br]
Toggle the plugin to Status – Enabled and hit the Save button. You are now all set to get subscribers for push notifications.


