

Add Push Notifications to Any HTTPS Website
No WordPress or Joomla? Add one line of code and upload one small file to collect push notification subscribers on any HTTPS website.
You can add Push Agent to any website, whether it is hand-coded, built with a site builder or running on another CMS. You need to add one line of code to your pages and upload one small file. For WordPress and Joomla, the plugins do this for you: see WordPress and Joomla.
Before you start
- Your website must use HTTPS. Browsers only allow push notifications on secure sites.
- You can edit your site’s HTML (or its template or footer code) and upload a file to the root folder of your domain.
- A free Push Agent account.
Step 1: Create your free Push Agent account
Go to app.pushagent.net and click Create an account. Sign up with Google, or enter your name, email address and a password of at least 8 characters. The Free plan needs no credit card, and every new account gets all Growth features free for 14 days.
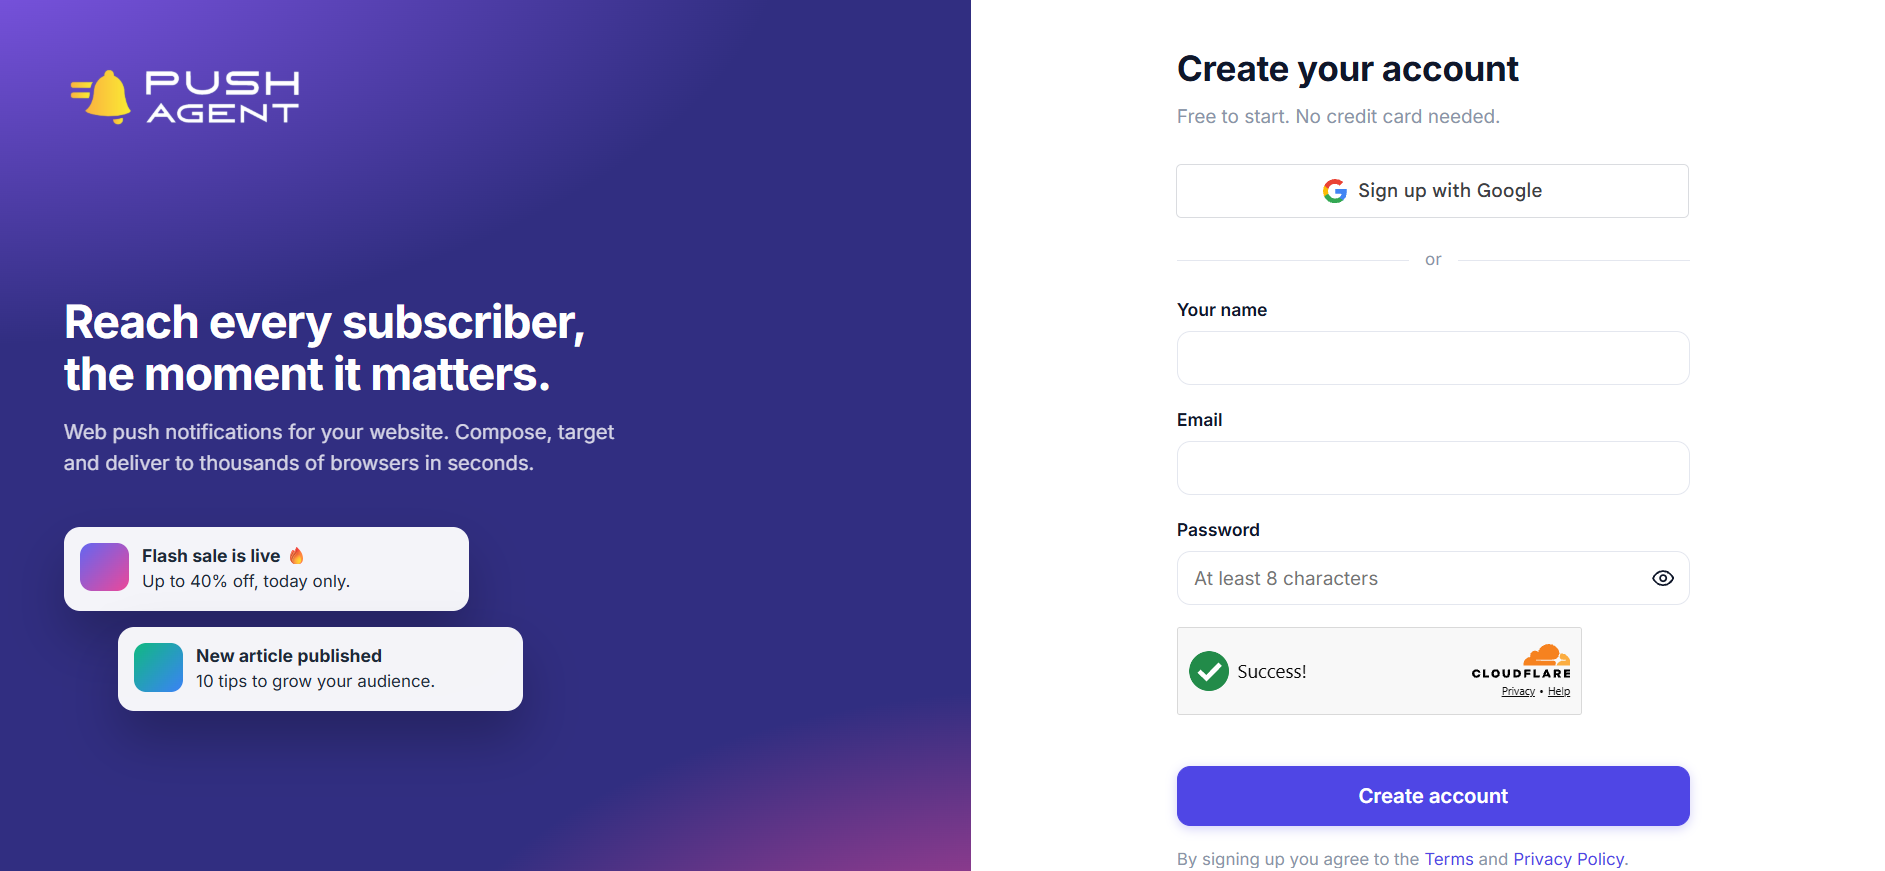
If you signed up with your email address, open the activation email from Push Agent and click the link in it. Then sign in at app.pushagent.net.
Step 2: Add your website
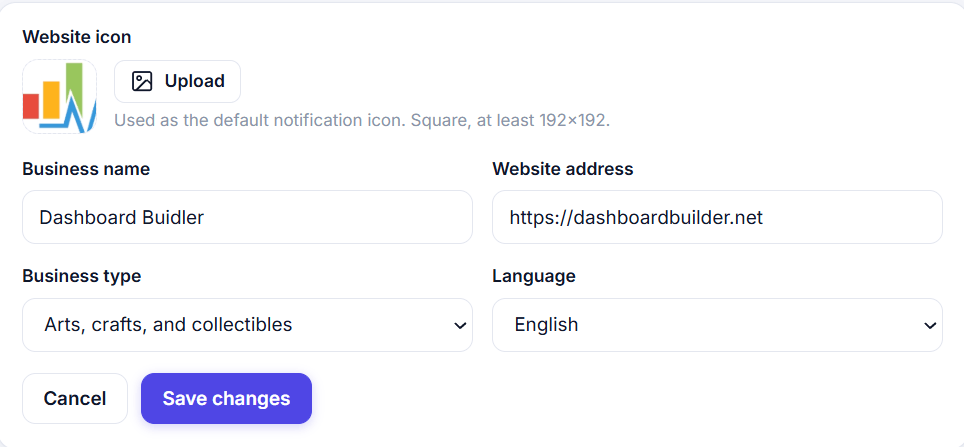
In the Push Agent dashboard, open Websites and click Add website. Enter your business name and your website address, including https://, and choose your business type and language. You can also upload a website icon: it is shown on your notifications, so use a square image of at least 192 × 192 pixels.
Step 3: Add the code to your website
Open Integration in your Push Agent dashboard. Under Add this code to your website, click Copy. The code looks like this, with your own website ID:
<script src="https://app.pushagent.net/embed?id=SITE_ID" async></script>Paste it just before the closing </body> tag on every page of your website. On most sites you add it once, in the shared footer or template. Site builders usually have a field for “custom code” or “footer scripts”.
Step 4: Upload the service worker
Under Upload the service worker, click Download pushagent-sw.js and upload the file to the root folder of your website, so it opens at https://your-site.com/pushagent-sw.js. Browsers need this small file to show notifications.
Can’t upload files? Click Or create the file yourself to see the single line it contains, and create a file named pushagent-sw.js with that line in your root folder.
Note: The file must be in the root folder of your domain, not in a sub-folder. It loads its logic from app.pushagent.net, so future improvements reach your site automatically.
Step 5: Verify
Under Verify the connection, click Verify integration. Push Agent checks your homepage for the code and the service worker and tells you if anything is missing.
Test it
Open your website in a private browser window and wait a few seconds. The “Allow notifications” card appears. Click Allow, then send a test notification from the dashboard.
Troubleshooting
Verify says the code is missing
Check that the code is on your homepage and that your page cache or CDN has been cleared. View your page source and search for app.pushagent.net/embed.
Verify says the service worker is missing
Open https://your-site.com/pushagent-sw.js in your browser. If you get “Not found”, the file is in the wrong folder or has a different name.
The card doesn't appear
Use a private window and an https:// address. If you already allowed or blocked notifications on your site, reset the permission from the padlock icon in the address bar.